Getting Started - Web
After creating an account, follow the next steps to create your first application. Jump to the mobile section to learn more about getting started on your iOS device.
Step 1: Create A New Application
After logging into the web app, start by creating a new application. Applications are defined in our system as a "project" - a specific visual recognition task using a group of images or video sources.
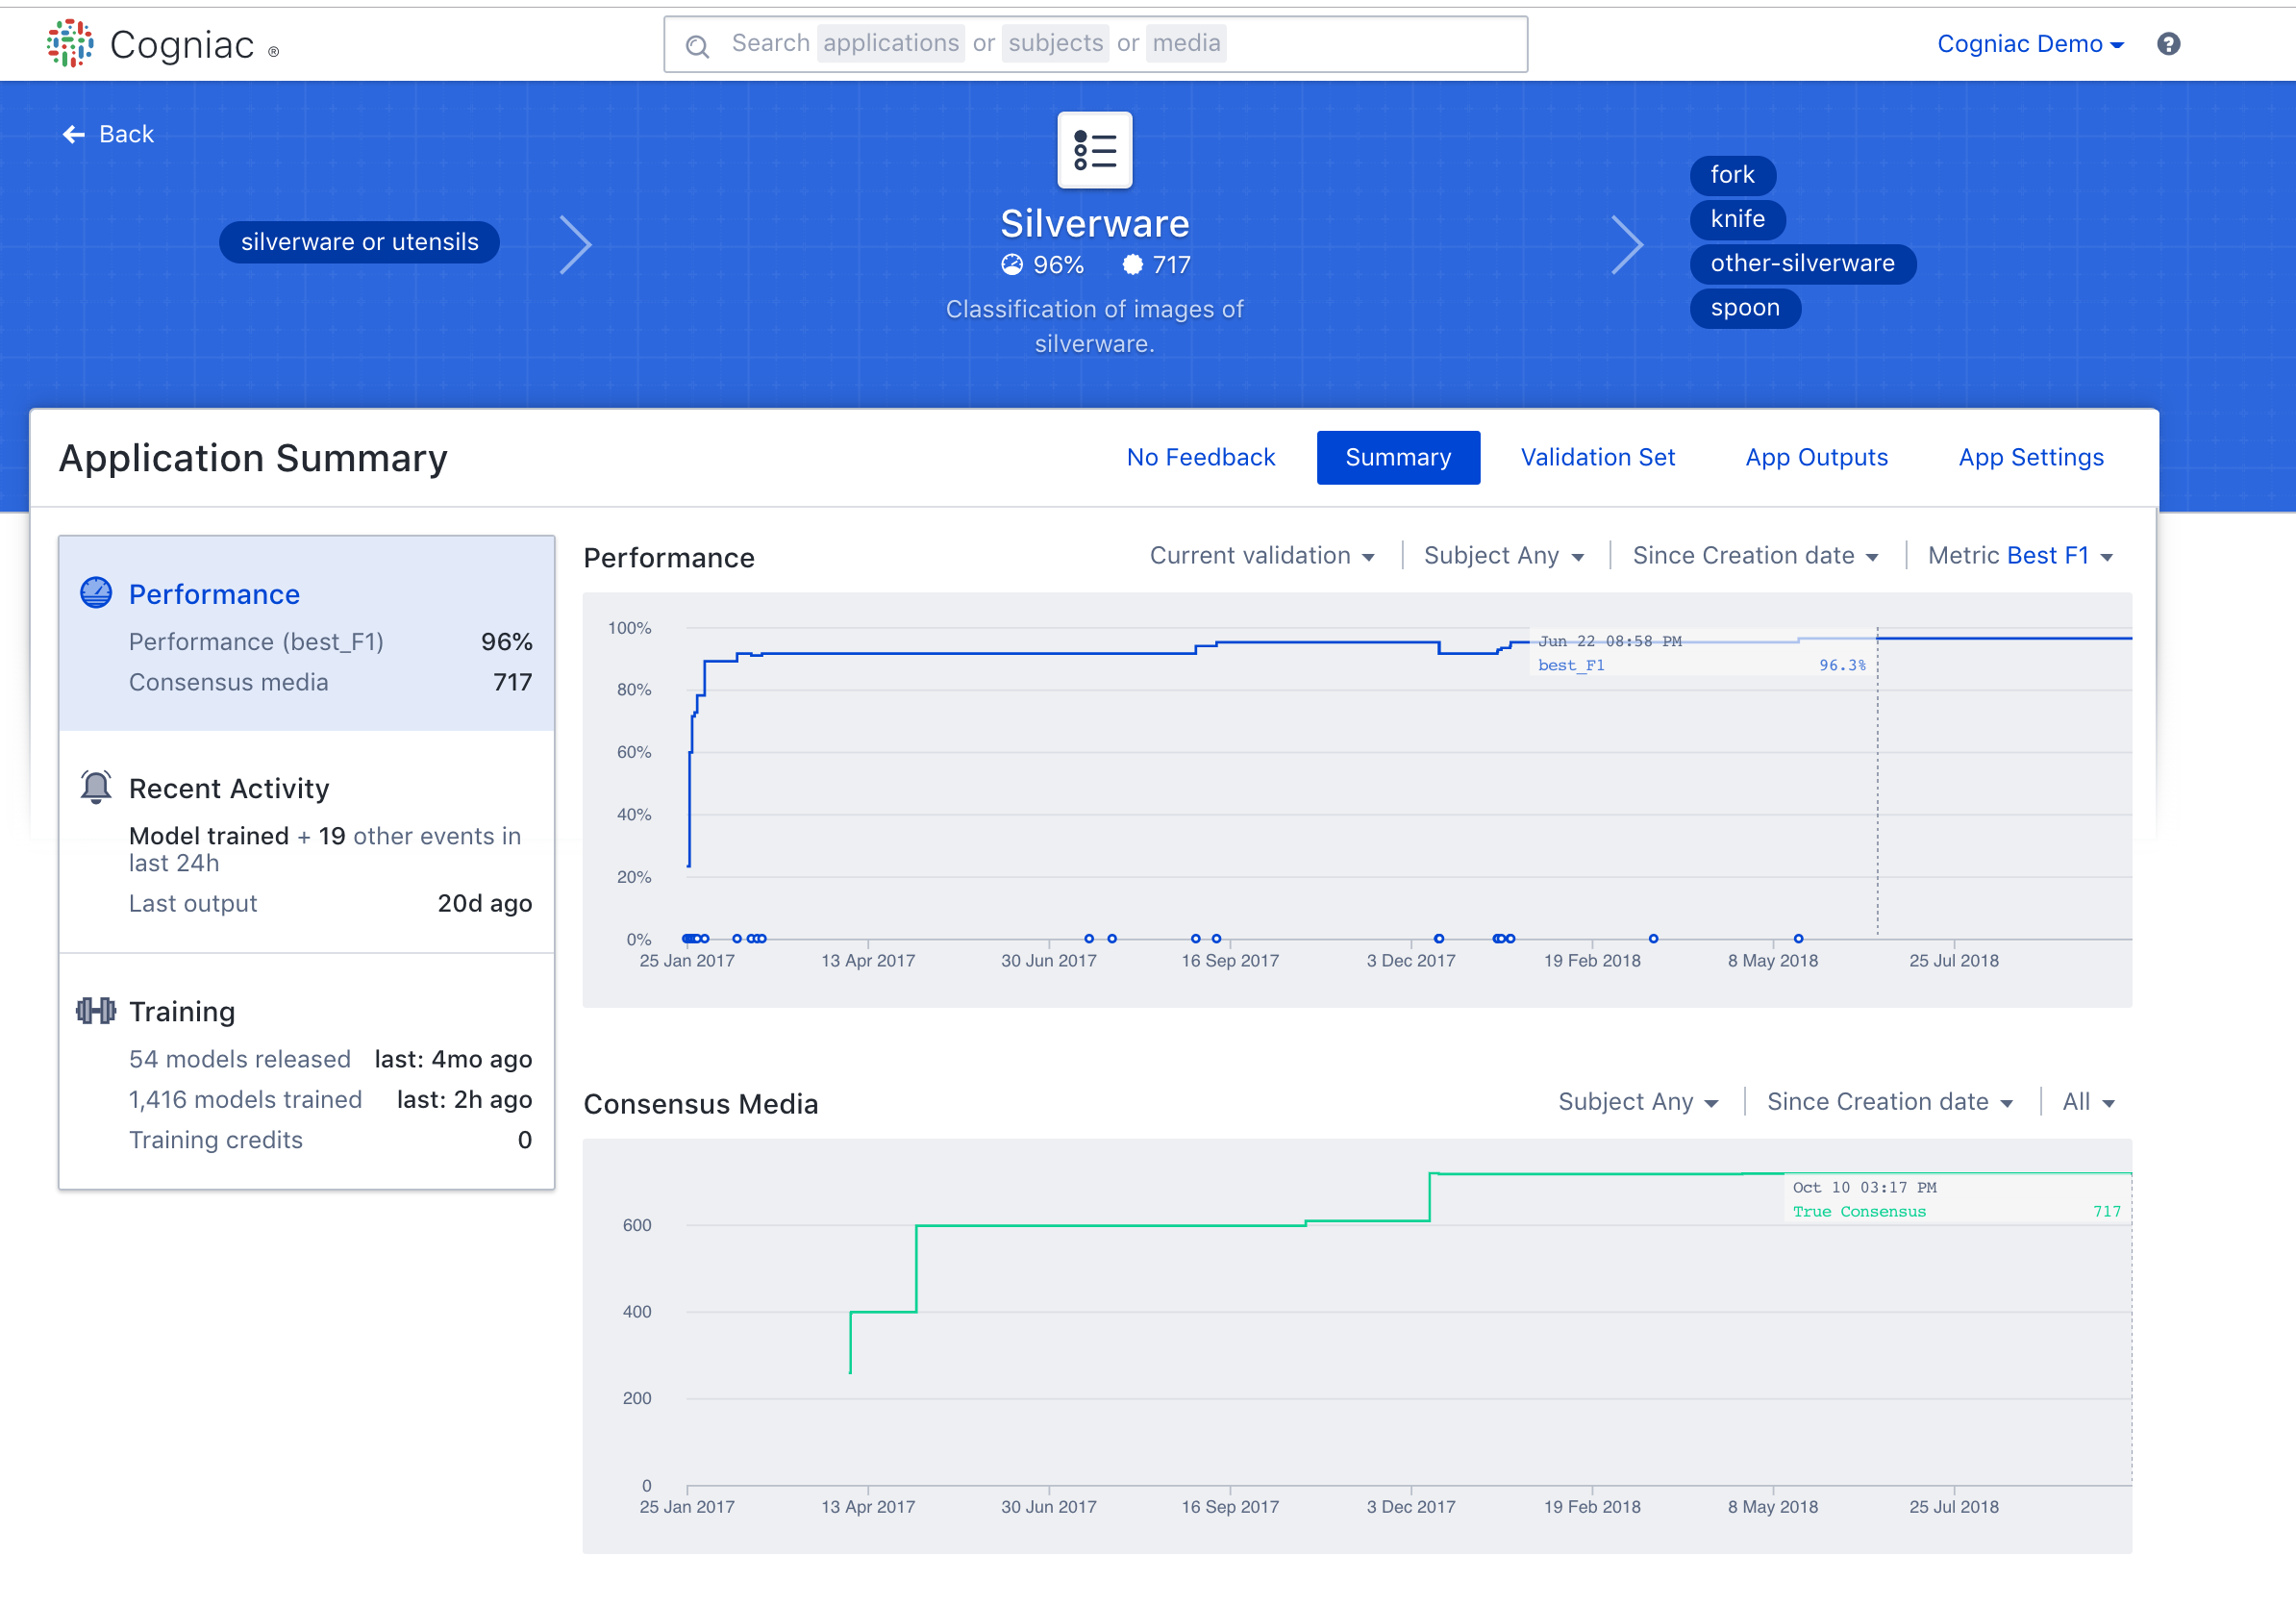
Give a name to your application and select a type.
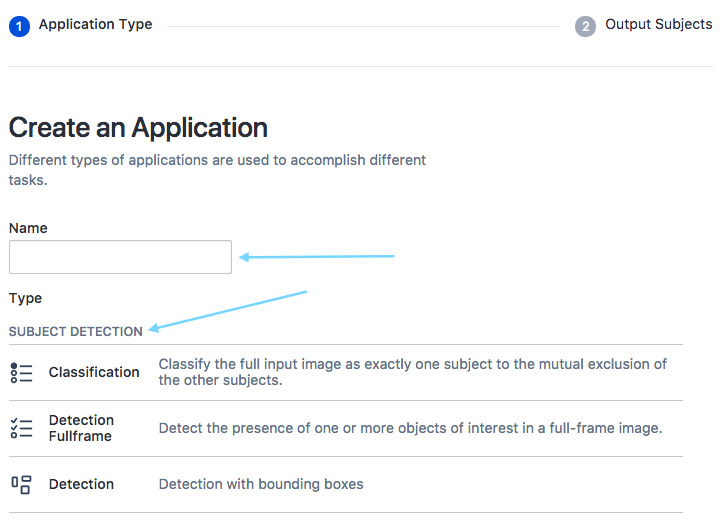
Next, select or create an input subjects to add to your application. Input subjects are collections of related media that are meant to be processed by your application. You can add multiple input subjects to your application and users generally segment inputs from different sources into different input subjects.
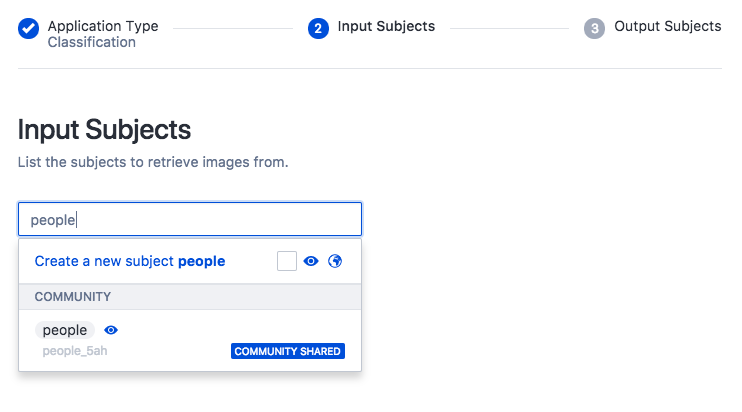
Add output subjects, which are the items or conditions that you're planning to detect from within images or video. For example, if you want to detect different silverware from imagery, you can enter "spoon", "fork", and "knife". It's easy to edit these subject tags or add additional subject tags later.
Step 2: Add Images To Your Application
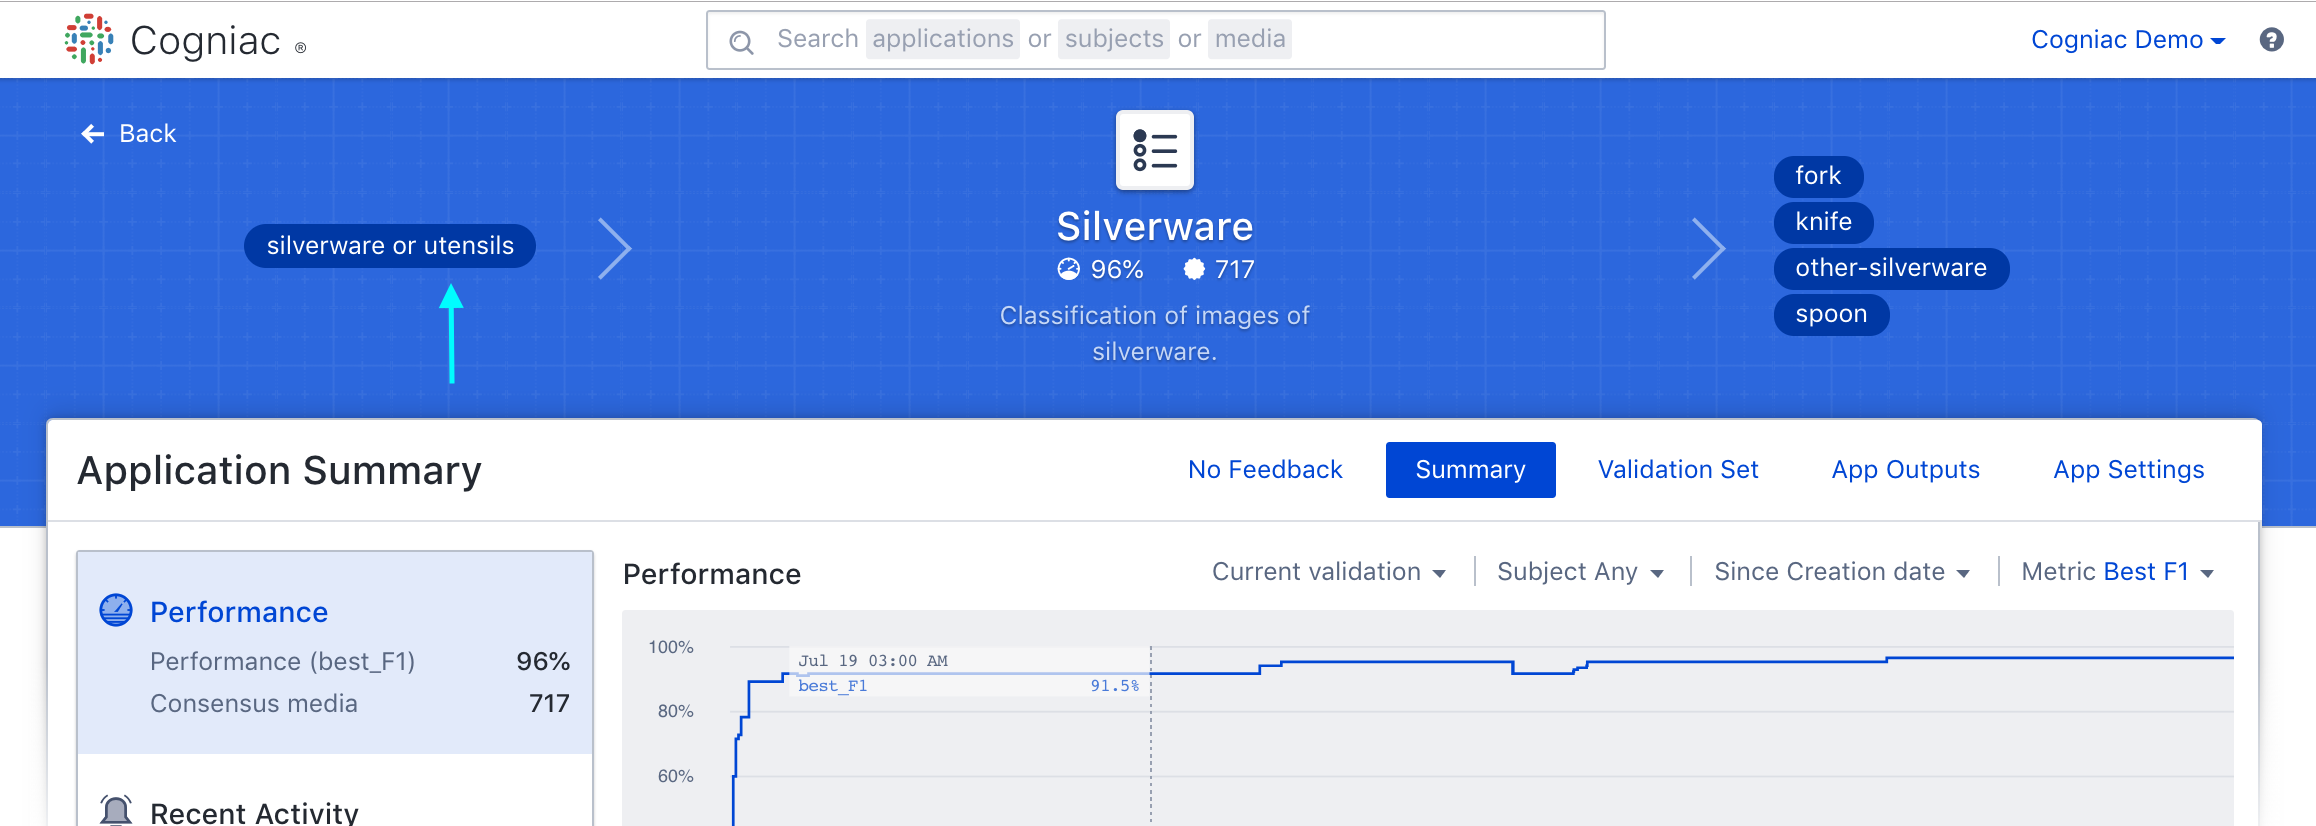
In this example we'll upload a batch of images from our local disk into our input subject - "Silverware or Utensils"

Upload a variety of images, some of which should contain the items of interest that are defined in your list of output subject tags.

Optional Intermediate step : Replay
Note:
If you have an input subject that already has media in it, before you attach it to an application, the media will not automatically flow into the application. In that case, You will need to do an application replay to replay the media into the application. Once the subject is attached to an application, any new media will automatically flow into the application.
As a suggestion - only replay few media at a time to build your model performance.
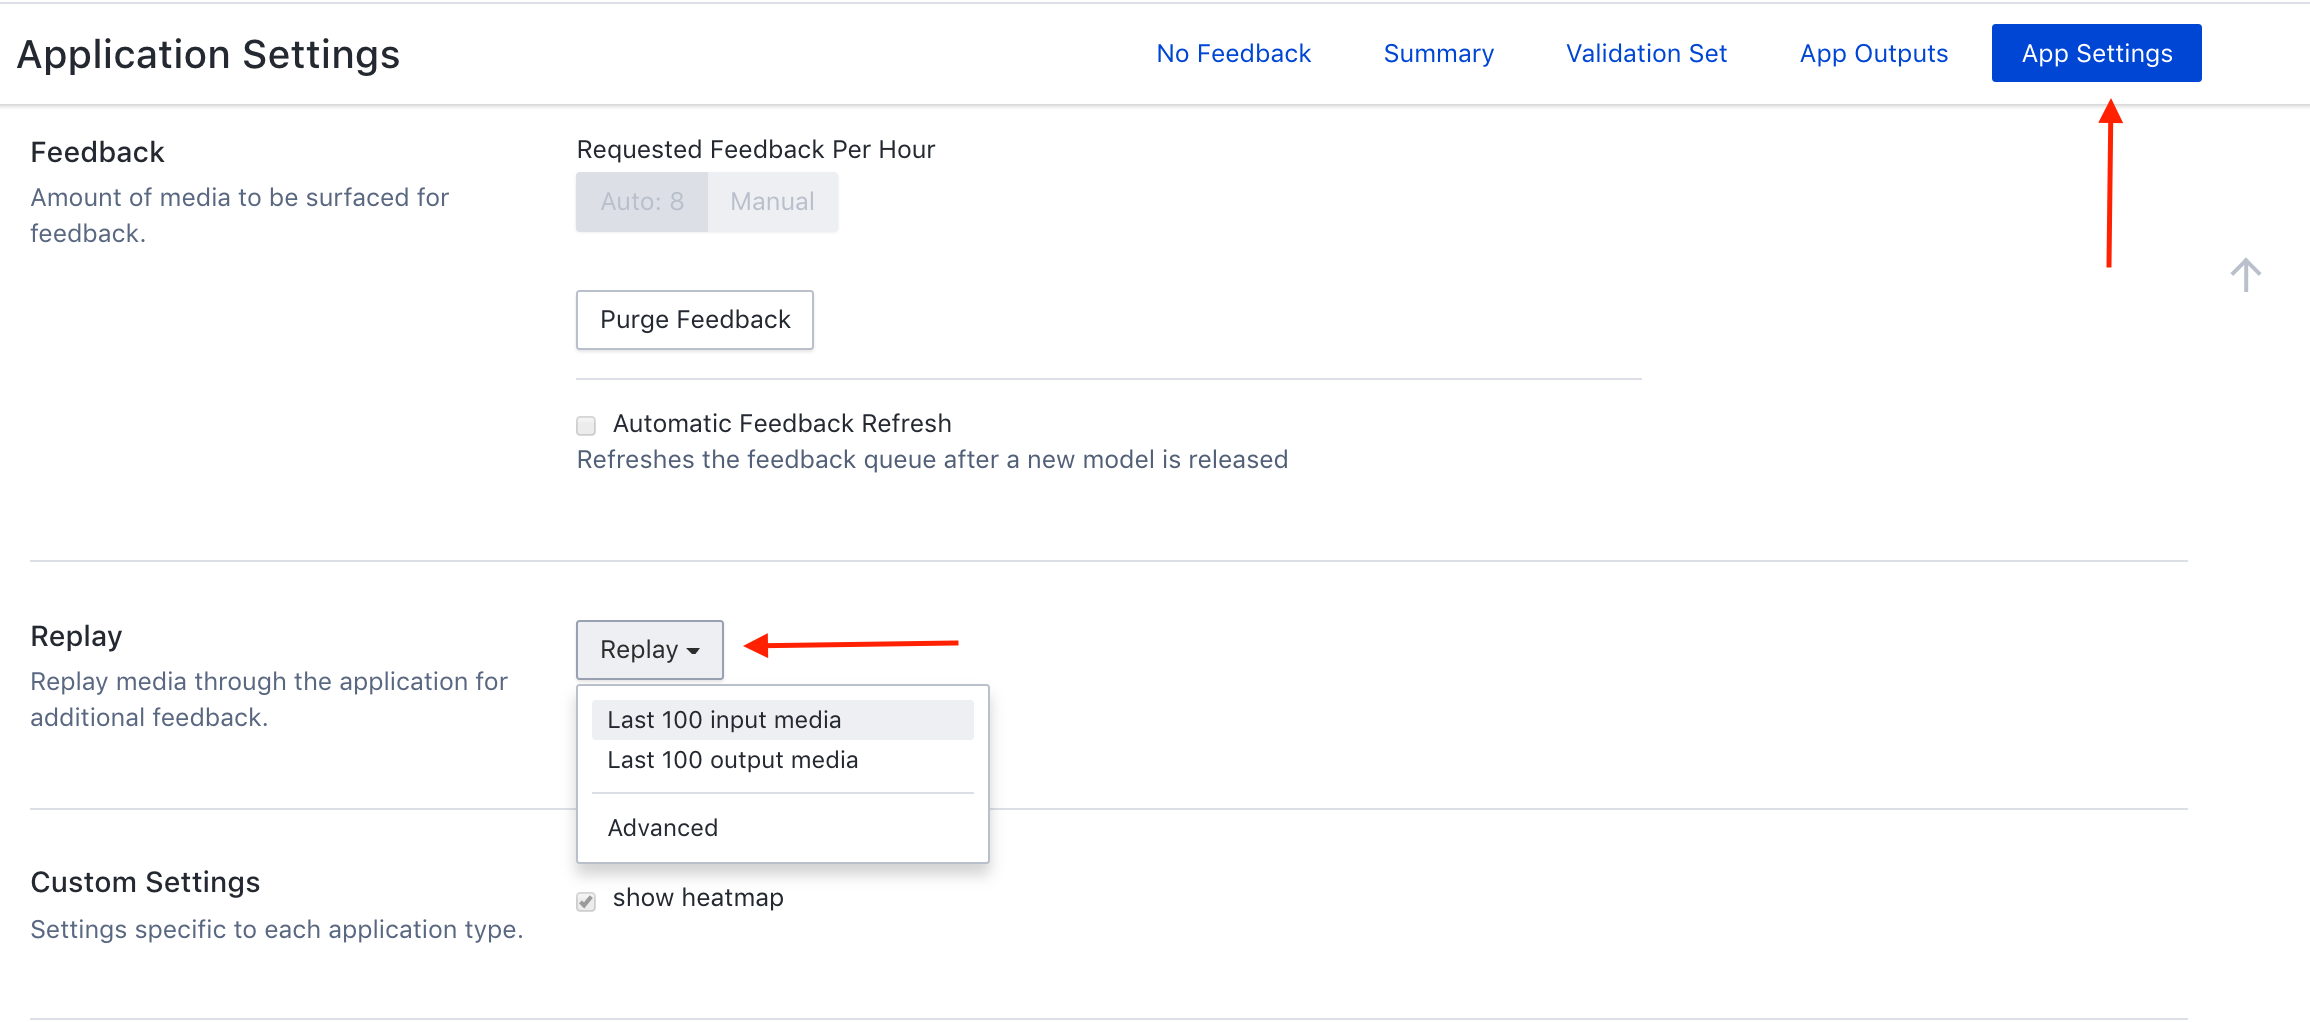
As a suggestion - only replay few media at a time to build your model performance. Once the subject is attached to an application, any new media will automatically flow.
Step 3: Provide Feedback To Your Application
Every application requires labeled data to generate the machine learning model. The labeled data is created by providing human feedback on the images. Feedback is simply a process where the system presents the user with an image and a predicted subject_tag and asks the user to verify that the subject tag was correct. If incorrect the user can correct the prediction. Some applications will be able to re-use existing labeled data in the system, but for this example we will assume that there is no existing labeled data for your Application.
Wait a few minutes for the system to process the images you just uploaded. You should see the counter next to "Pending Feedback" increase. Click on the button to start giving feedback. Many users upload batches of 100 images at a time, but it is possible to upload fewer or more images at once.
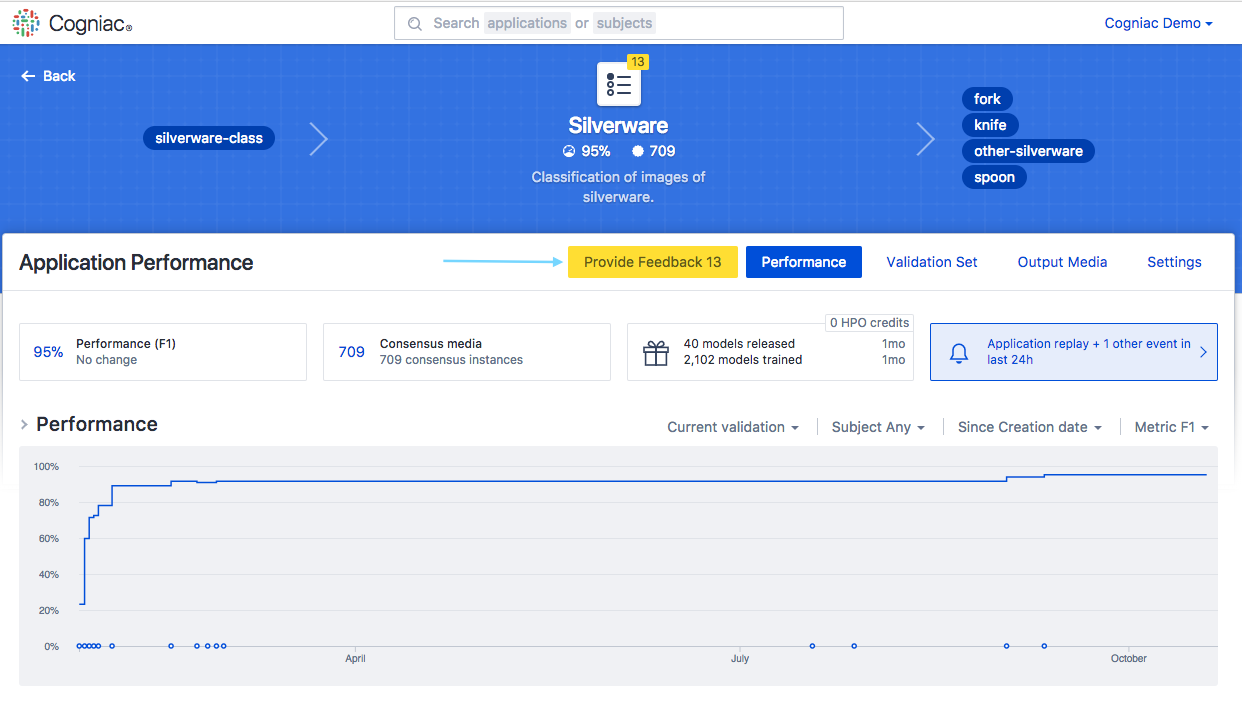
This screen shows that the system detected a "fork" in this image. This is correct, and it's simple to 'submit' your feedback for confirmation. You can continue providing feedback until you complete the current queue of images.

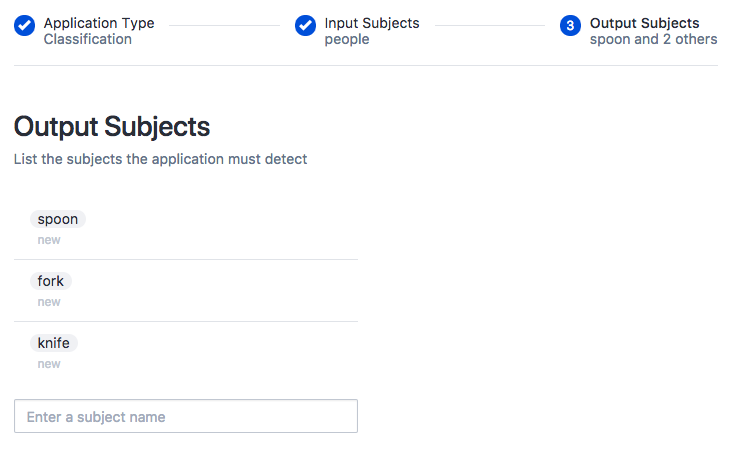
After giving feedback on a few dozen images, your application should start performing better. Click on the App Outputs tab to see recent detections and the confidence level. Note: Just after creating your application, if some detections are wrong it is expected, the system will learn over time as you upload more images and give feedback.
How Much Feedback Is Required?
You should generally start to see "better than random" results after a few dozen 'consensus' training images per subject. The performance of your application will initially increase dramatically as more feedback is provided and more consensus items are generated as training data. Beyond 500-1000 consensus images for a given subject the application performance will continue to increase at a slower rate. Different media sources and different subject types require different amount of consensus data to achieve a given performance level. The more the appearance of your subjects naturally vary in your input images the more consensus data you will need. You can track the performance of your Application in the web app or in the mobile app, and if the performance is not satisfactory you can continue to add additional training images and provide more feedback to boost the performance
Updated about 3 years ago
